How to Divide a Studio Apartment: 8 Ideas

Dividers, shades, shelves and plants to create zones, one colour palette and light to keep them together, and a second level for storage if your ceiling allows it.
A studio has one room and no walls inside it. Your bed, your desk, your kitchen and your sofa share the same space, and nothing shows where one area ends and the next begins. You have to create that division yourself, and you have to do it without losing the space you need to live comfortably.
Here is how to divide a studio apartment so that it is stylish and comfortable at the same time. The eight studio apartment ideas below come in three groups: five ways to create zones, two ways to make the zones feel like one home, and one idea for a room with a high ceiling.
What studio apartment divider ideas give you privacy?
Five kinds work well: a divider made of wood, glass or paper; a divider with the right level of transparency; floor-to-ceiling shades; open shelving; and a wall of plants. Your choice depends on how separate each zone must be.
Start with the zones, before colours or furniture. Each zone should have one job. When you go to bed, you want to relax. When you sit down to work, you want to concentrate. A clear border between the two helps with both.
1. Choose the material of the divider
Natural materials make a divider look like part of the design, not an obstacle.
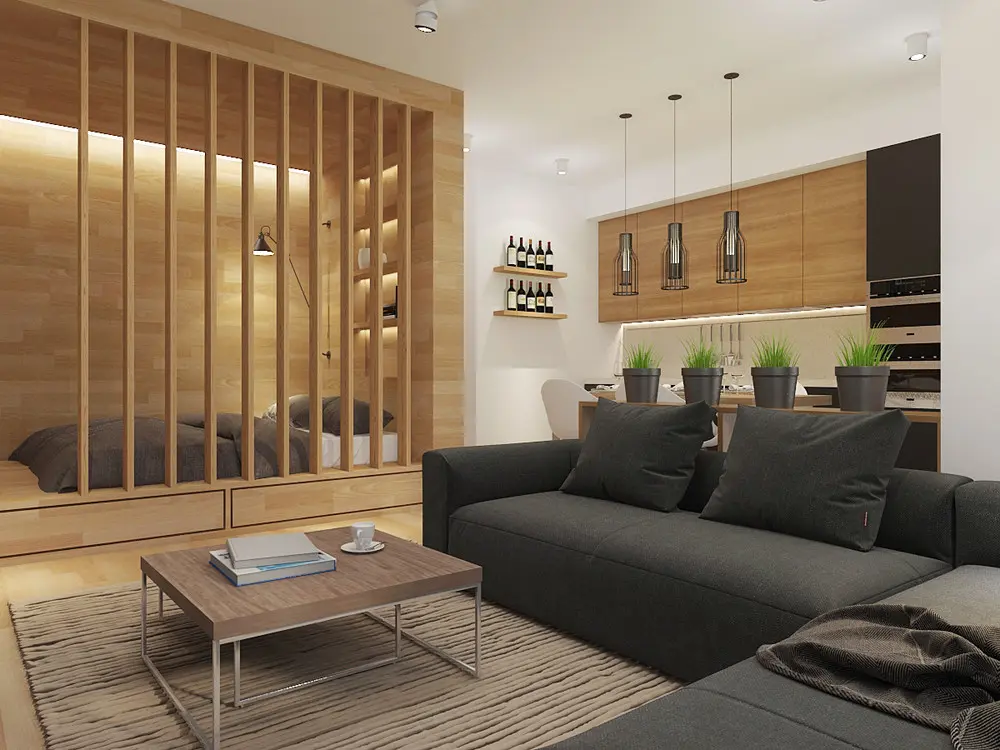
- Wood. A natural wood divider can separate the bed zone from the rest of the room.
- Glass with wood. Combine glass with wood or faux wood for a lighter border.
- Paper. If your conditions allow it, use paper. It brings in elements of traditional Japanese style, which look interesting next to minimalist details.
These are starting points, not a full list. Your own combination can work just as well.
2. Decide how much each zone should be hidden
Dividers can be transparent, half-transparent or opaque. Use this to set the level of privacy between zones: more for the bed, less where you only need to mark a border. One divider can also mix several materials.
- Why it works: you get privacy only where you need it.
- The trade-off: the more opaque the divider, the more it cuts the room in two.
3. Use shades when the zones must change
Panel shades mounted on rails between the floor and the ceiling are a good choice if you need flexible zones. Open them when you want one large room, close them when you want two.
Fabric or pinoleum (blinds made of thin wooden slats) adds an accent to the room, or hides something from guests who are too curious. Shades are also an element of style: depending on the material, they make the design cozier or stricter.
4. Make the divider a bookcase
In a small studio, every piece of furniture should do more than one job. A bookcase or open shelves placed as a wall between zones give you a border, storage space and a place for decor at the same time.
5. Grow a wall of plants
If you like plants, a living wall is a homely way to separate the living area from the bedroom. Hang the pots from the ceiling, or put them on a shelf construction. Climbing plants fill the gaps and make the wall look more solid.
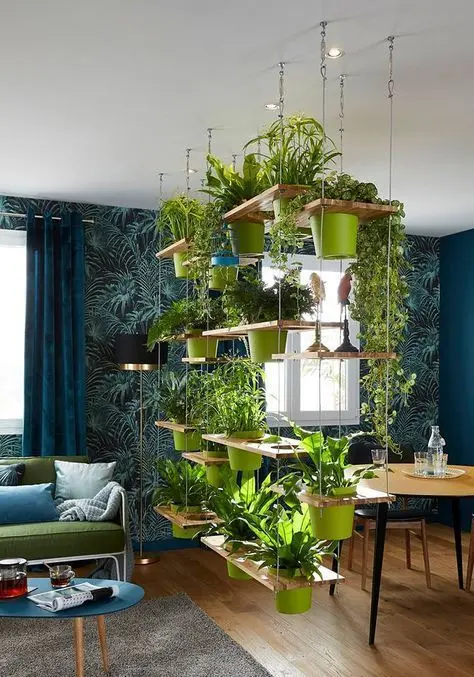
Shelves of plants mark the border between two zones, but the room stays open.
How do you decorate a studio apartment so it feels like one home?
Choose colours that are compatible, and repeat one element across all the zones. Then let in as much natural light as you can.
When your studio is small, use every tool you have. Colour is one of the strongest: it can divide the room into clear parts, and it can make one zone, or the whole apartment, look larger or smaller.
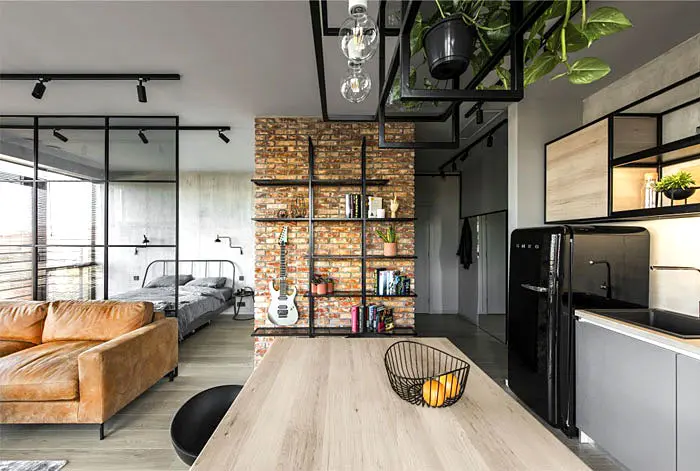
6. Keep one palette and one unifying element
The colours of your zones must be compatible with each other. If they are not, the studio looks fragmented. The same applies to styles: when you combine styles within one zone or between zones, something must connect them.
That connection is a unifying element that covers a large area:
- a big carpet, or several small carpets of different shapes in the same colour tone;
- one colour on the ceiling, the walls or the decor, such as pots and pictures;
- objects you need anyway, for example a fridge in an unusual colour that matches the window blinds.
7. Let natural light in, and add light where it matters
Do not block the windows: let natural light enter freely. Use artificial light to bring out details in the kitchen or the bedroom zone. If you have plants, plan your design around the light they need, and let the light play through the space.
Which small studio apartment ideas use the height of the room?
A second level for storage and decor. It works only if your ceiling is high enough.
8. Build a second level
A second "floor" inside the apartment is a smart solution, but it costs more money and more effort than the other ideas. It gives you one more place for storage and decoration.
- Why it works: you use the space above your head.
- The trade-off: non-transparent, heavy furniture makes the room feel bulky. Without enough ceiling height, the second level becomes one more problem instead of a solution.
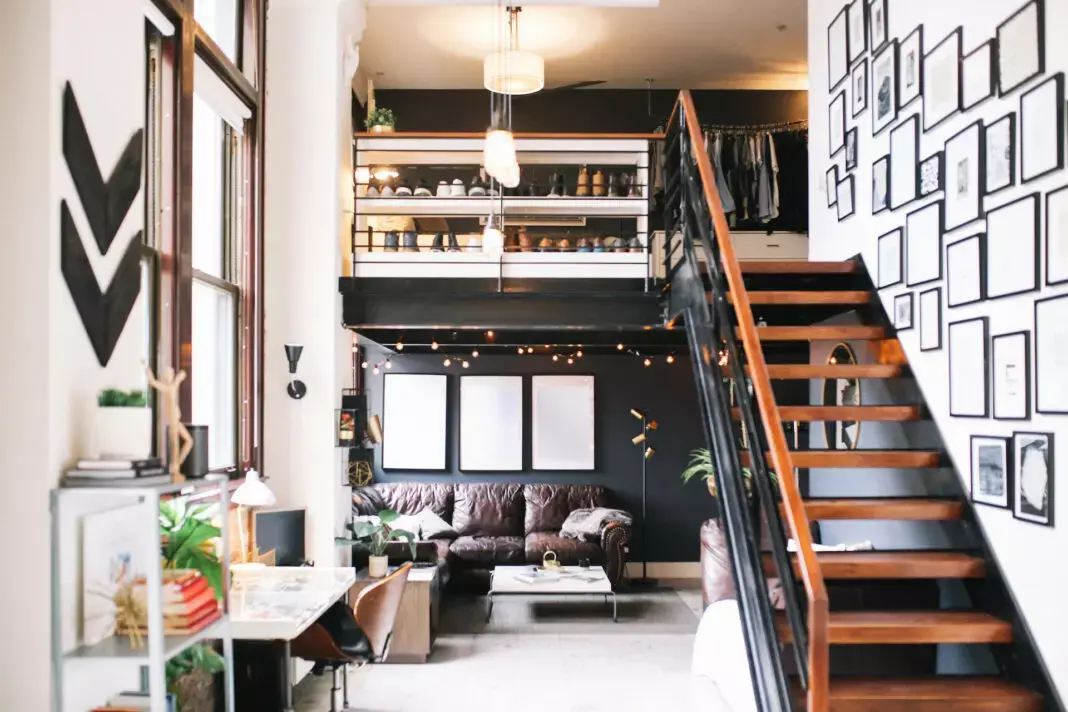
Plan the studio before you buy furniture
In a small space, decoration needs as much planning as the zones, because the goal is an airy room. The shape of your kitchen furniture layout, your styles and how you combine them, and the main furniture in the living area all matter. Small details in the wrong place only create clutter.
So make a plan of your design before you buy any furniture. The Home Planner App is made for this task: draw your studio, place the furniture and compare different zones before you spend money.
Try it on your own plan in Home Planner
Measure your space, create 2D and 3D floor plans, and furnish your design with products from real brands. See the result as a visualization, or start from a predesigned layout for your bedroom, bathroom or living room.
Try it on your own project
Free room planner and interior design app